Why Modest Fashion Bothers Me
April 27, 2016This Week I……
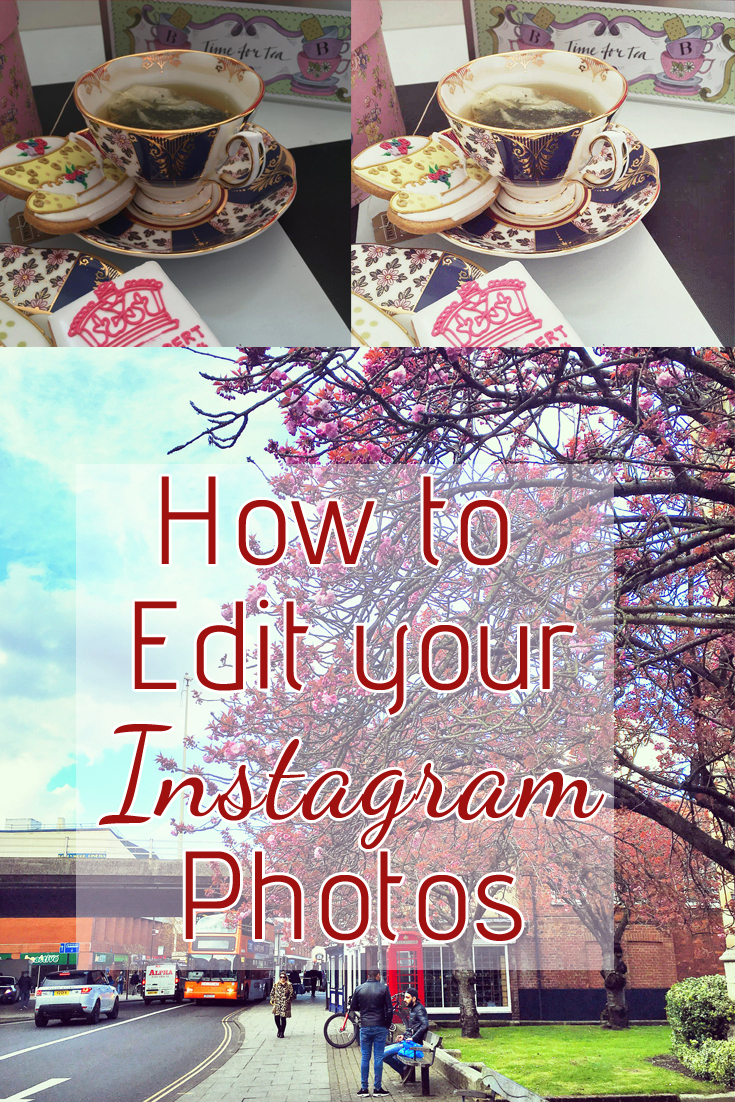
May 2, 2016Everyone loves a beautiful Instagram feed.
Learning to use Instagram well has been a long process for me and one that I’m still learning at every day. Instagram photo editing is a bit of an art, and finding your style takes trial and error. I try to strike a balance between only posting beautifully composed and edited photos (or as beautifully composed and edited as I can manage!) and posting those little slightly imperfect snapshots of my life, because I know that’s what I like to see in people *I* follow on Instagram. (If you want to follow me on Instagram, I’m Retrochick_uk!)
When someones feed is just all professional looking photos of immaculate flat lays and perfectly styled outfit shots I get a little bored. I do occasionally want to see that slightly grainy photo of a cocktail because it was so amazing you just had to share it, it’s what makes you feel really connected to people you are following.
The key is always in the editing. There are ways to make those slightly imperfect photos a lot more appealing, and it’s going to take a bit more than the inbuilt features in Instagram to do it.
This, for instance, was a definitely less than perfect snap of a bottle of wine on a Friday night. I knew the lighting was too dark, the background not perfect, but the bottle was pretty and I wanted to share it and I damn well wasn’t going to ruin my relaxing Friday night by pulling out poster board and a full lighting rig.
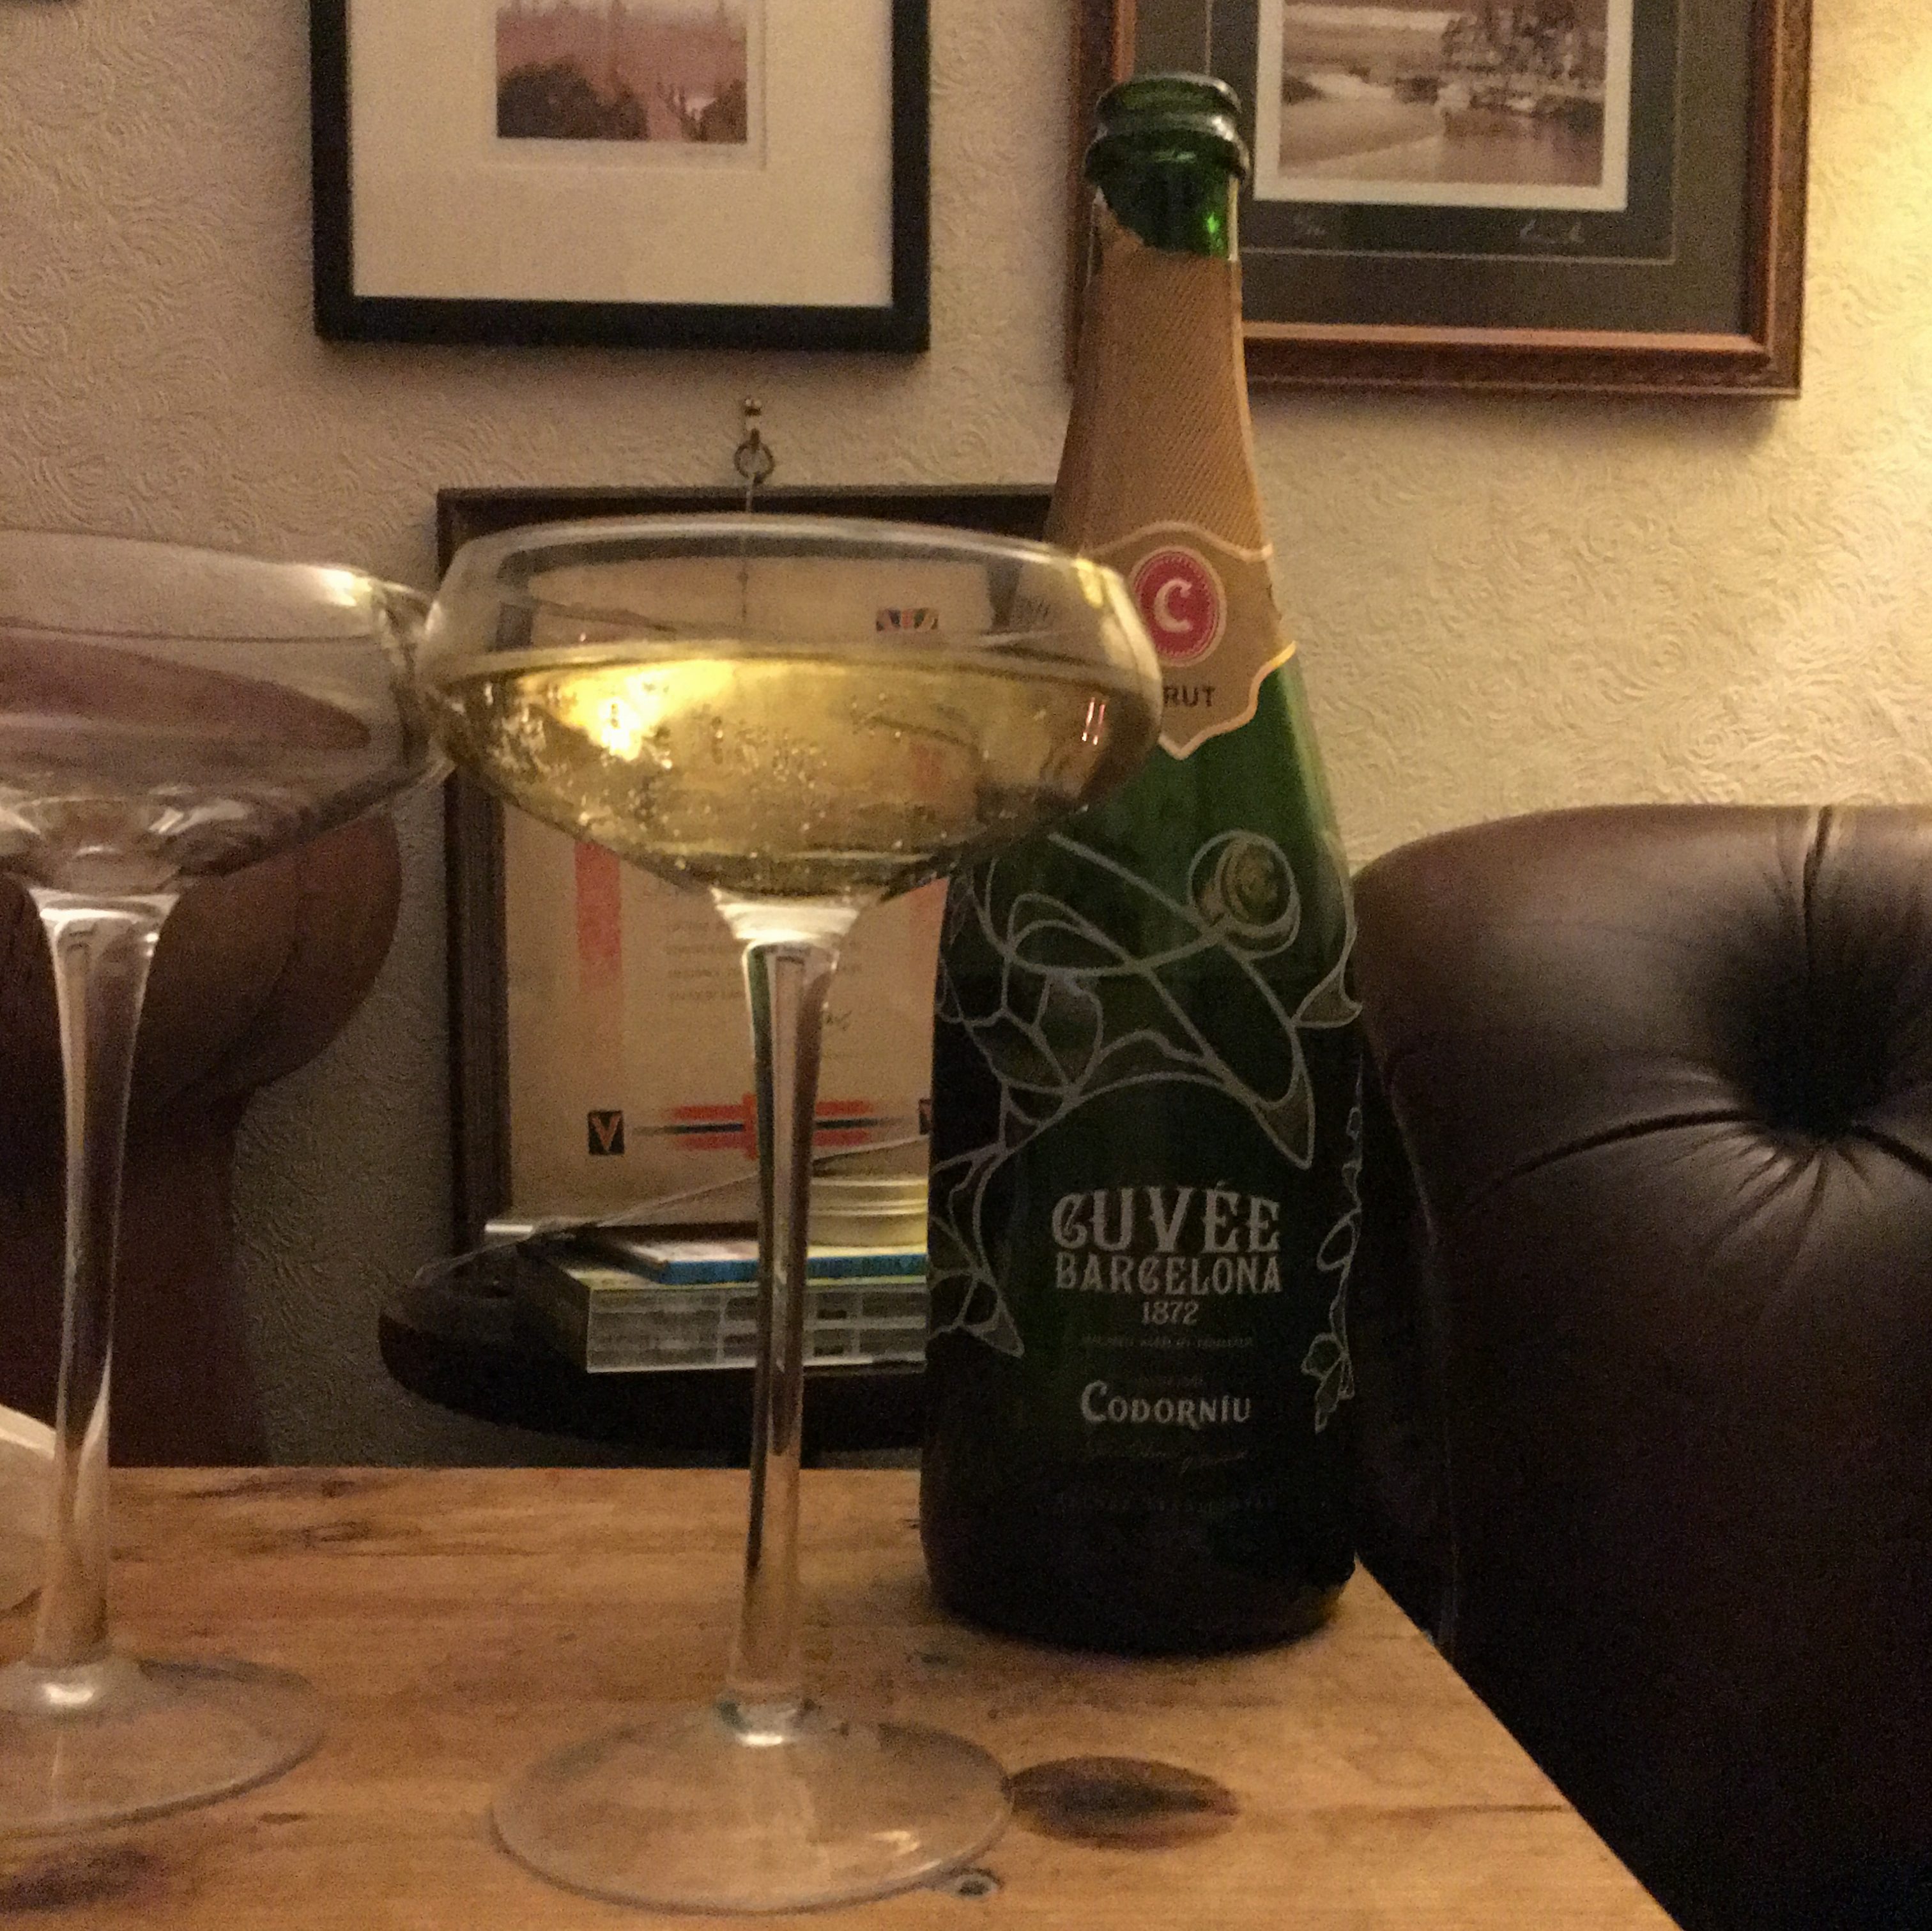
With the use of a couple of apps, the photo I finally posted looked like this. Certainly not immaculate and perfect (should have moved the DVD box in the background!) but clean and bright enough not to “ruin” my feed.

Even if you’ve taken a decently composed photo in day light, extra editing can be the difference between having colours that really stand out, and something that is too dark to show any detail.
How you like your photos to look when you’ve finished editing them is entirely up to you, obviously. I like mine to be very bright, but sharp and detailed and my favourite filter is Instagrams Valencia. Other people prefer a more faded look to their photos and some like a 70s, orangey look.
I am far from being an expert, the effort some really big Instagram stars must put into making them look so gorgeous makes me want to cry a bit. But today I thought I would share some of the Instagram photo editing apps that are out there to make even your grainy iPhone photos look as good as they possibly can.
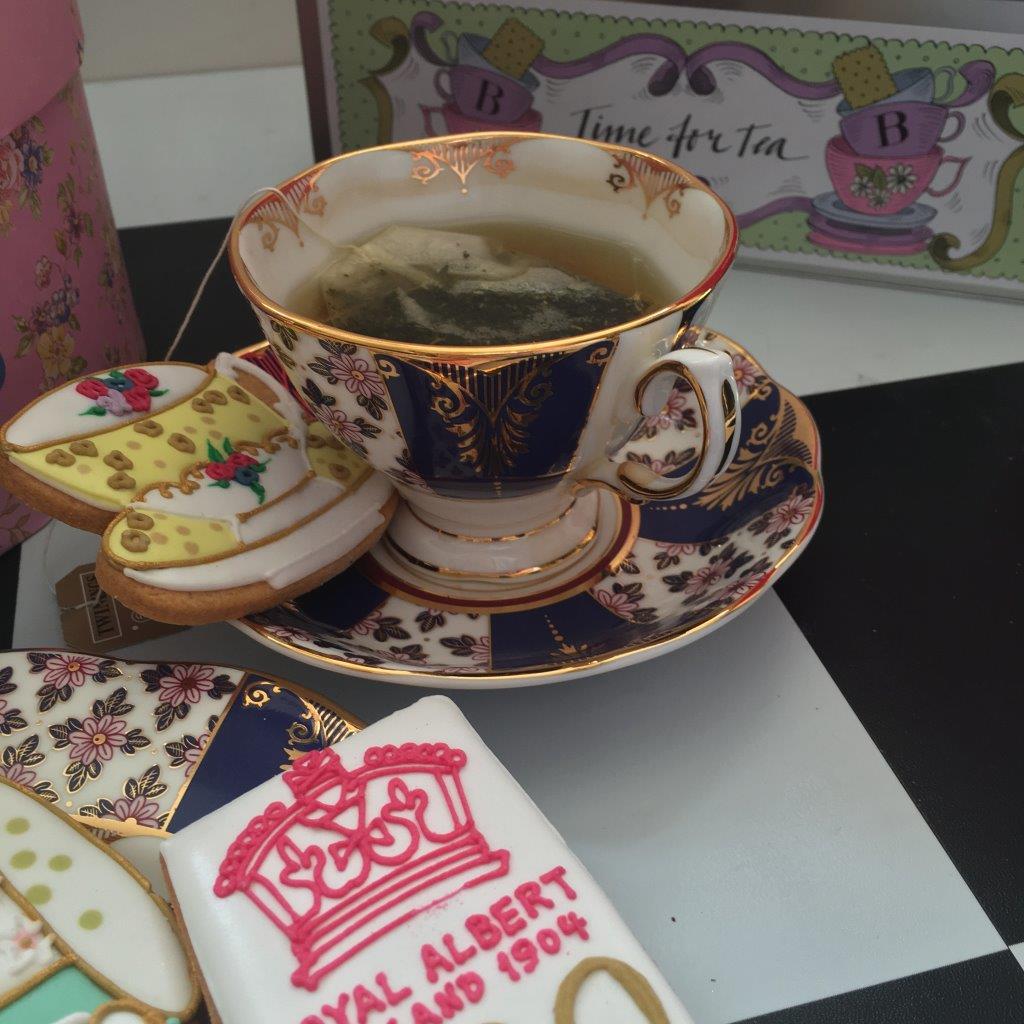
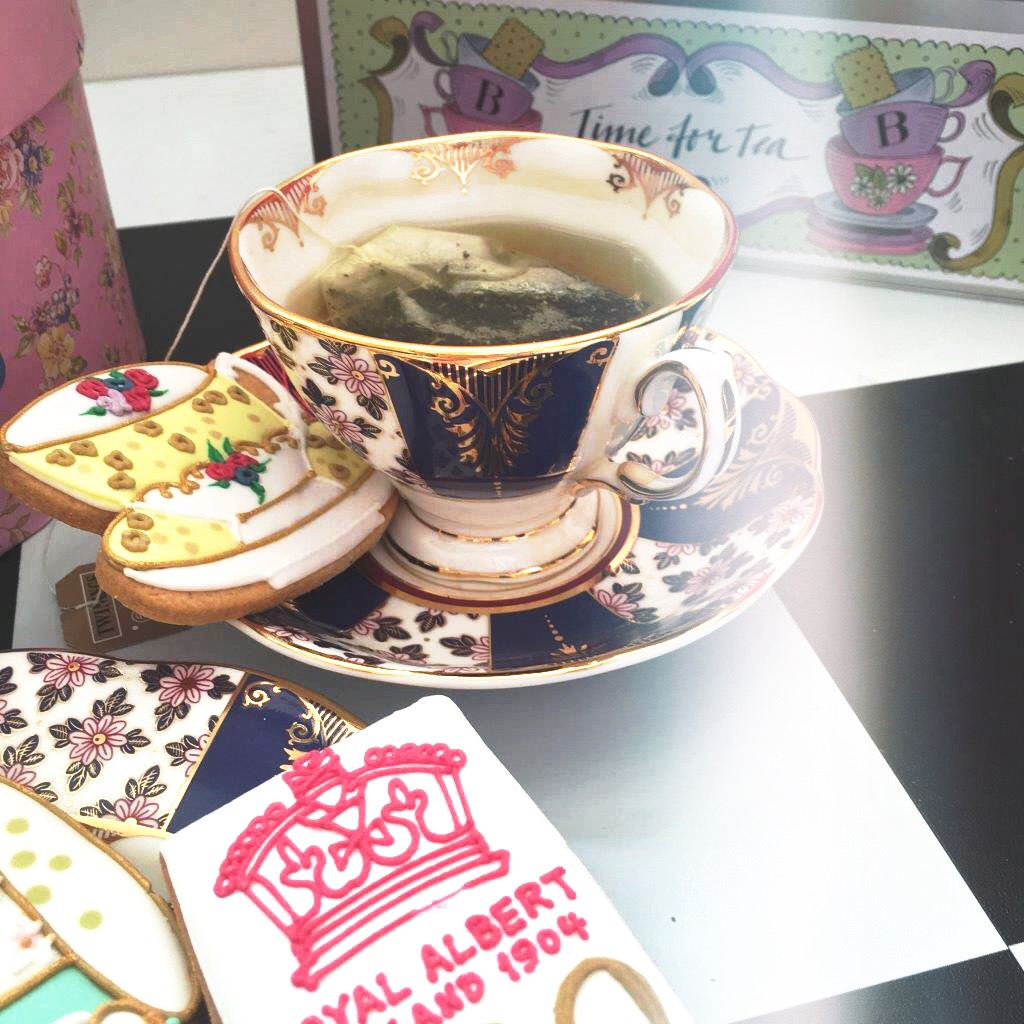
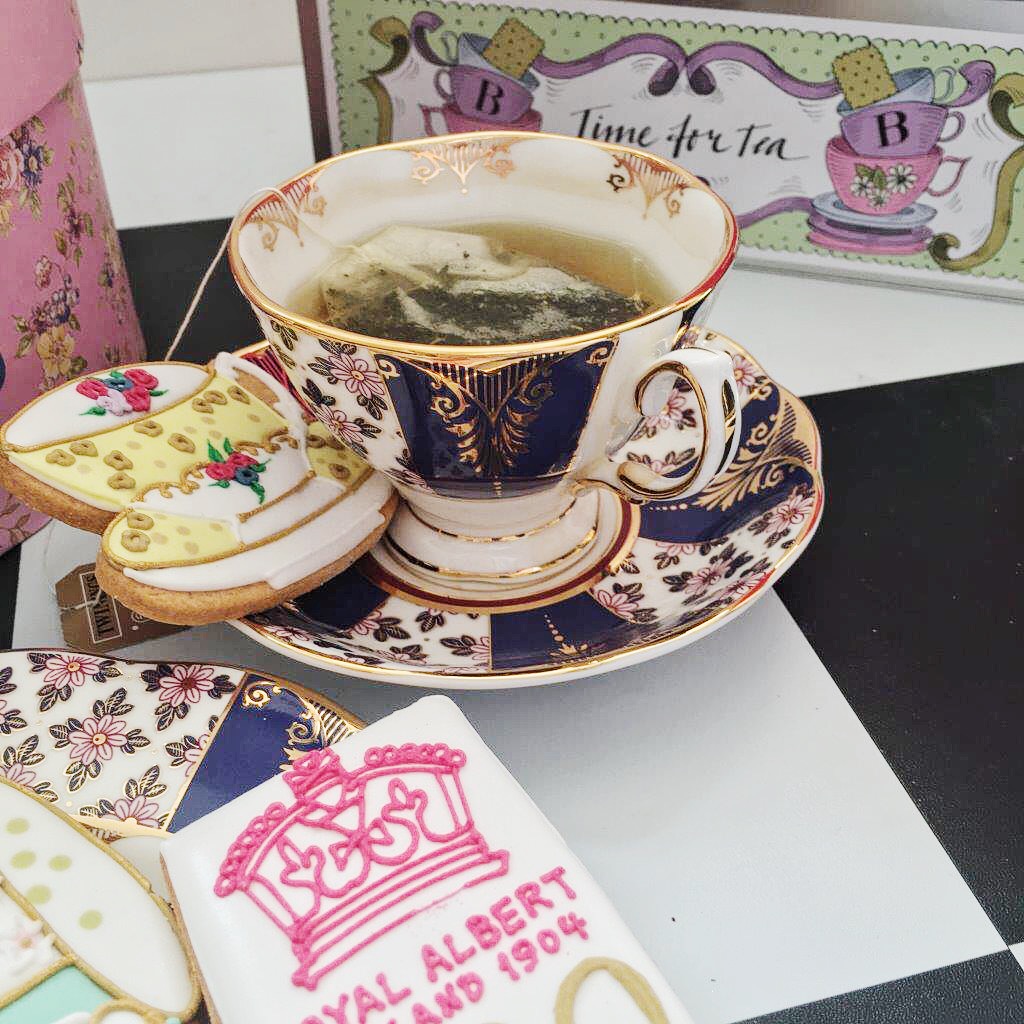
I’m going to use this photo as an example, it’s one I took on my phone yesterday of the gorgeous Royal Albert 100 Years of Tea china and biscuits that I was sent as part of their 100th Anniversary collection.
Here it is in its unedited form.
Afterlight
Afterlight is a paid app, but it costs a measly 79p. It has filters that lots of people swear by, but I prefer the Instagram filters, though some of them are good. Personally I use this mostly for its editing, which seems to work better than the options in Instagram itself. Depending on the photo I play around with the clarity, brightness, exposure, highlights and shadows. Very occasionally I might change the temperature, which works well if indoor lighting has given your picture that orangey look, or the saturation if I want to make some colours stand out.
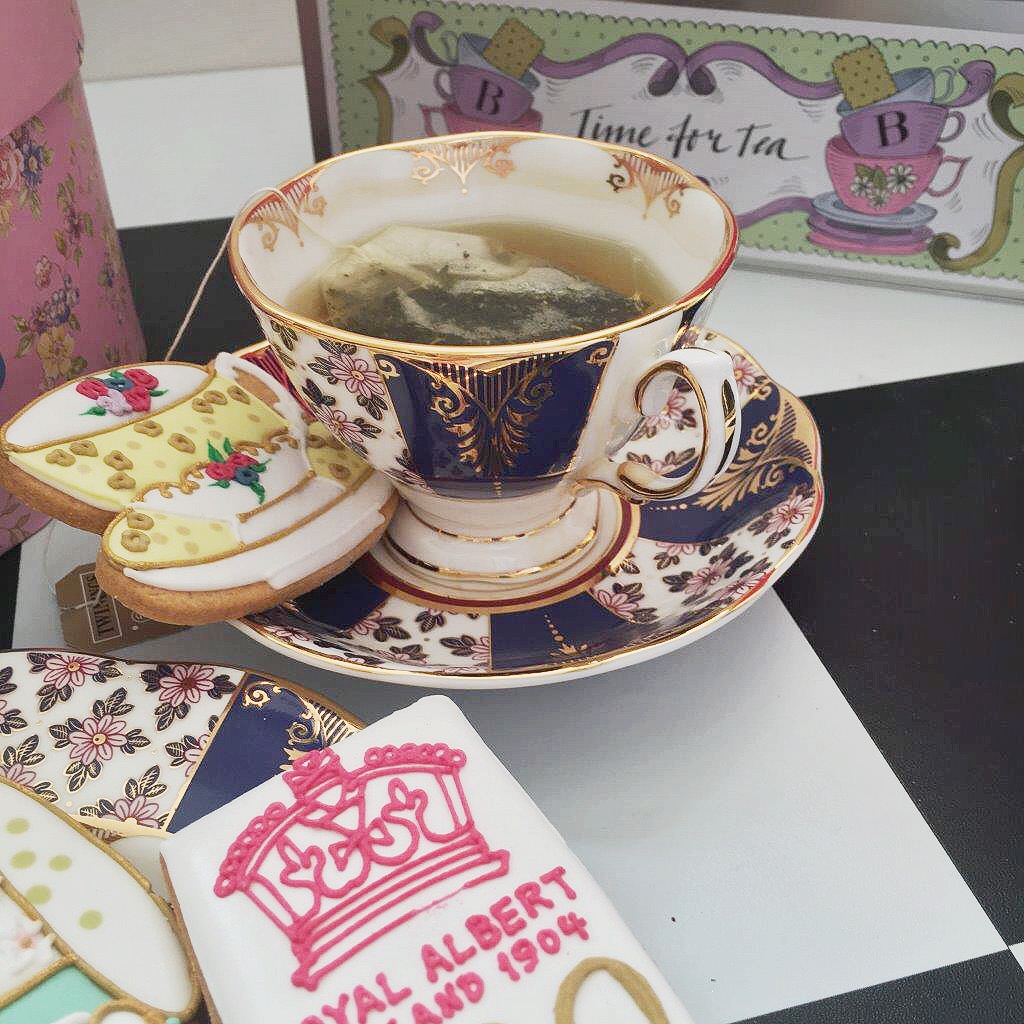
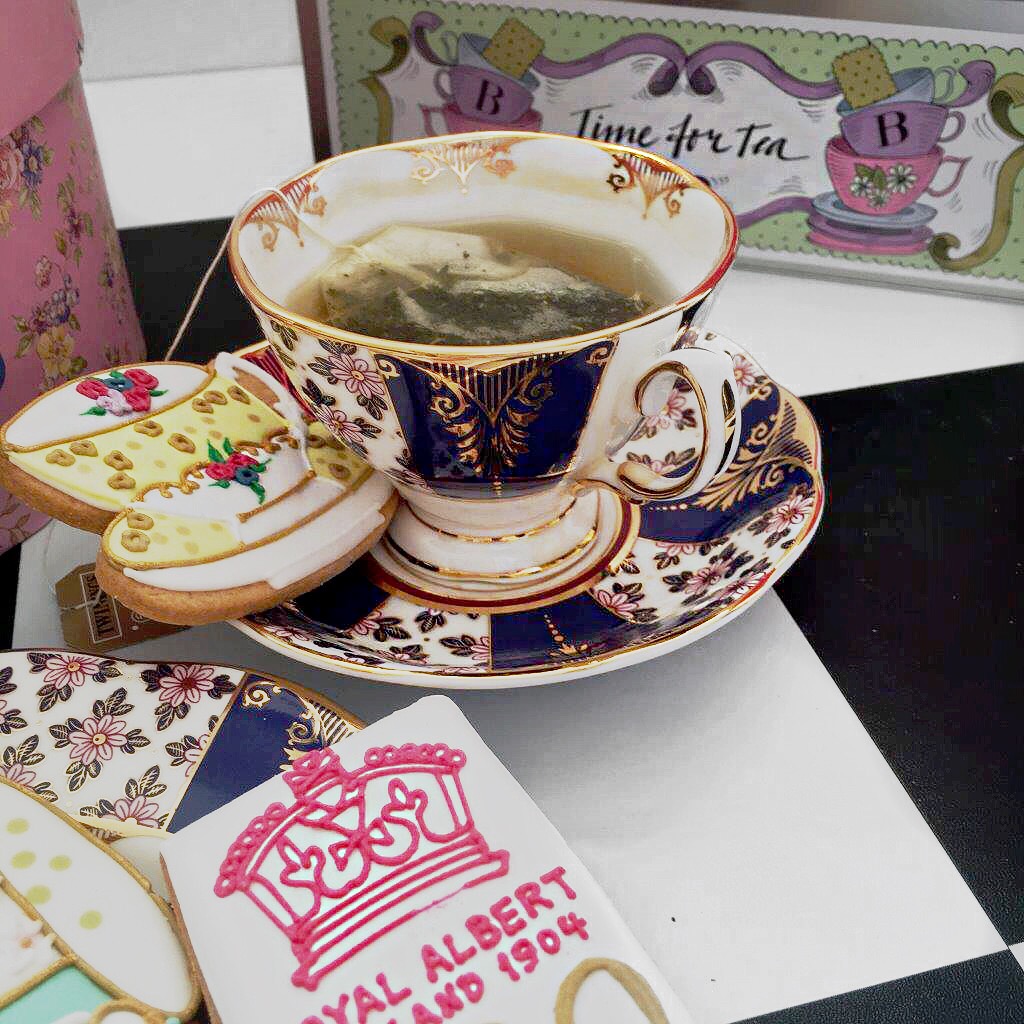
Here is the photo above brightened and tweaked with Afterlight. No other filters.
On Afterlight you can also add overlays like light leaks and dust, which are sometimes fun, and if you want to make that your “look” you could use consistently.
Facetune
Facetune is slightly more expensive at £2.99, but well worth it, especially if you take a lot of selfies! It’s intended for selfies, so you can use it to smooth skin, whiten teeth and bring out details. It’s great if that light is just too awful and you end up looking like you have hooded eyes and big bags, just don’t over do it because you’ll look like you’re made of plastic. You can also use Facetune to “reshape” things, making yourself taller and slimmer, for instance. I personally have never used this feature apart from to make comedy 6 foot tall photos of myself for my own amusement, but when you see a celeb accused of photoshopping their insta photos to make their waists smaller or boobs bigger, this is likely what they used!
This is the only time I have publicly shared a photo using the reshape feature. You can see how it also slightly distorts the backgrounds, which is how those celebrities get caught out by wonky door frames in the back ground!
Outside of selfies Facetunes features can also be used on other photos. I like the whiten feature to brighten up white areas of a photo, and the details feature to bring out areas of a photo that get lost. I also occasionally use the patch feature if there’s an irritating scratch on a wall, or a smudge.
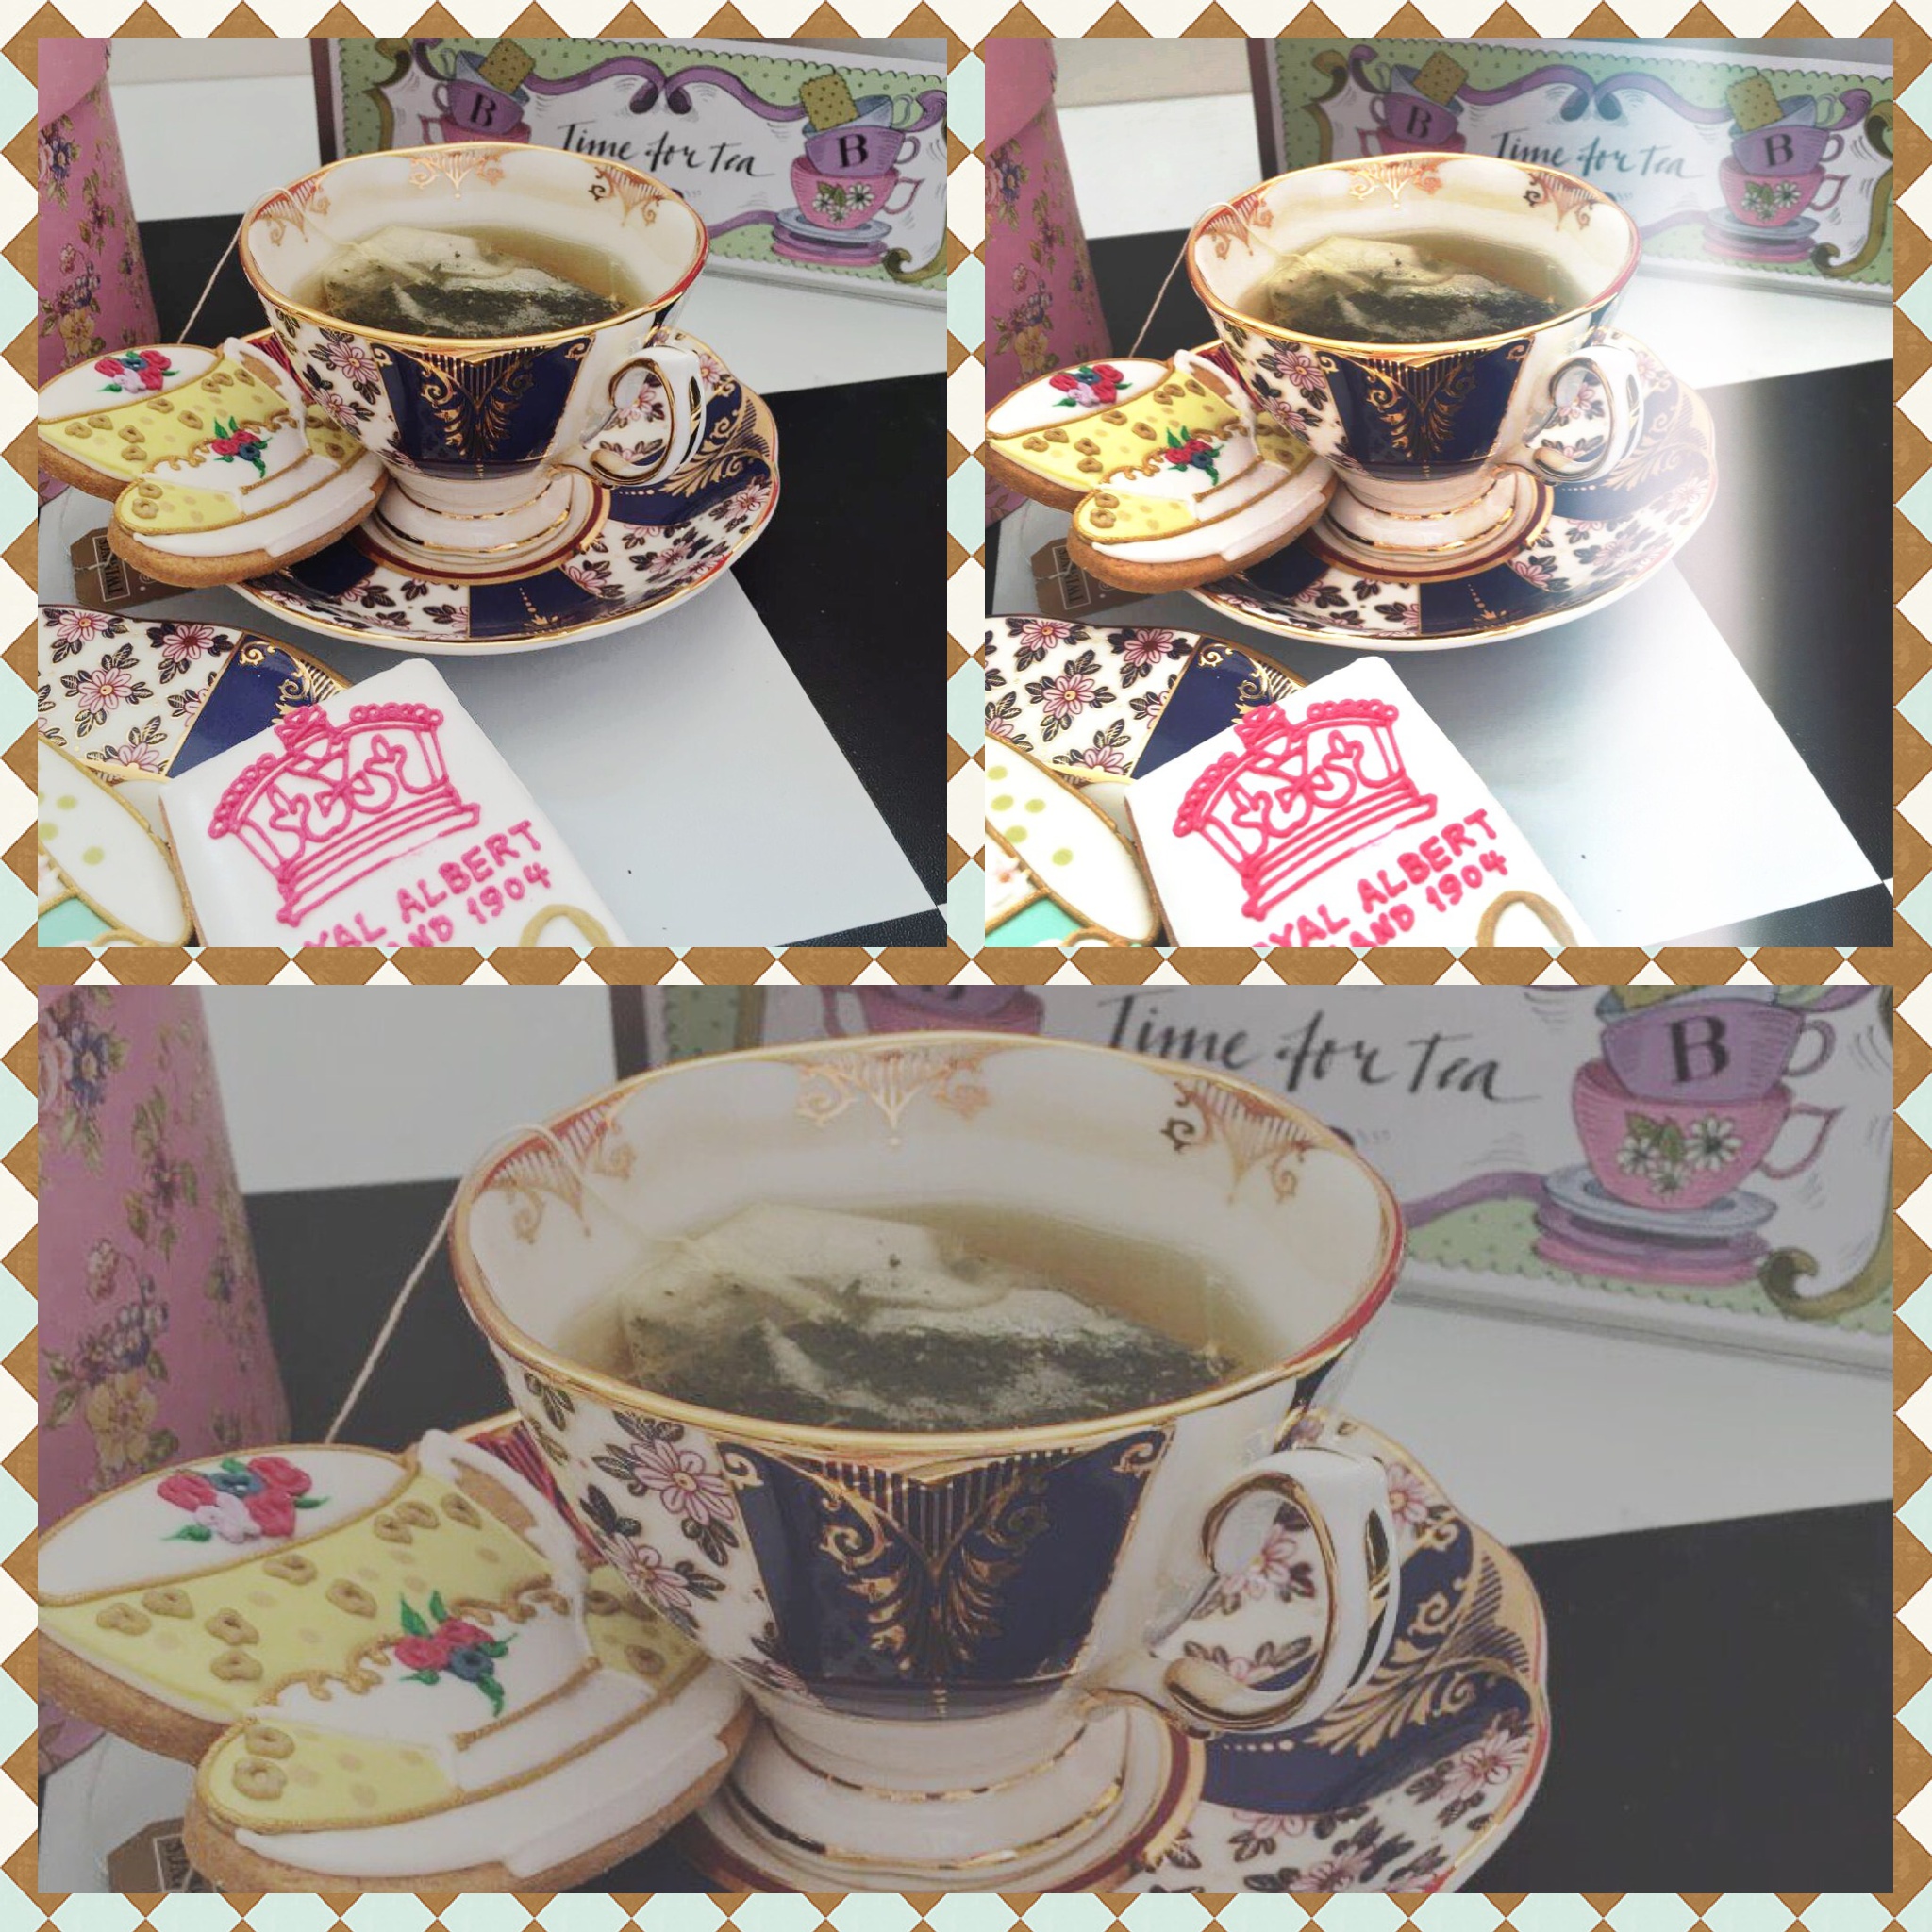
This is the tea cup photo with some of the whites brightened and the detail on the cup highlighted a little. It’s subtle, but it works.
PhotoMirror
This one is a free app, again often used for outfit photos when people do that “OMG THERE’S 2 OF ME!” thing.
You can create some interesting effects using the mirror option.
It also has a collage function that you can use to add a selection of photos to, or all the same photo over and over again, if you want!
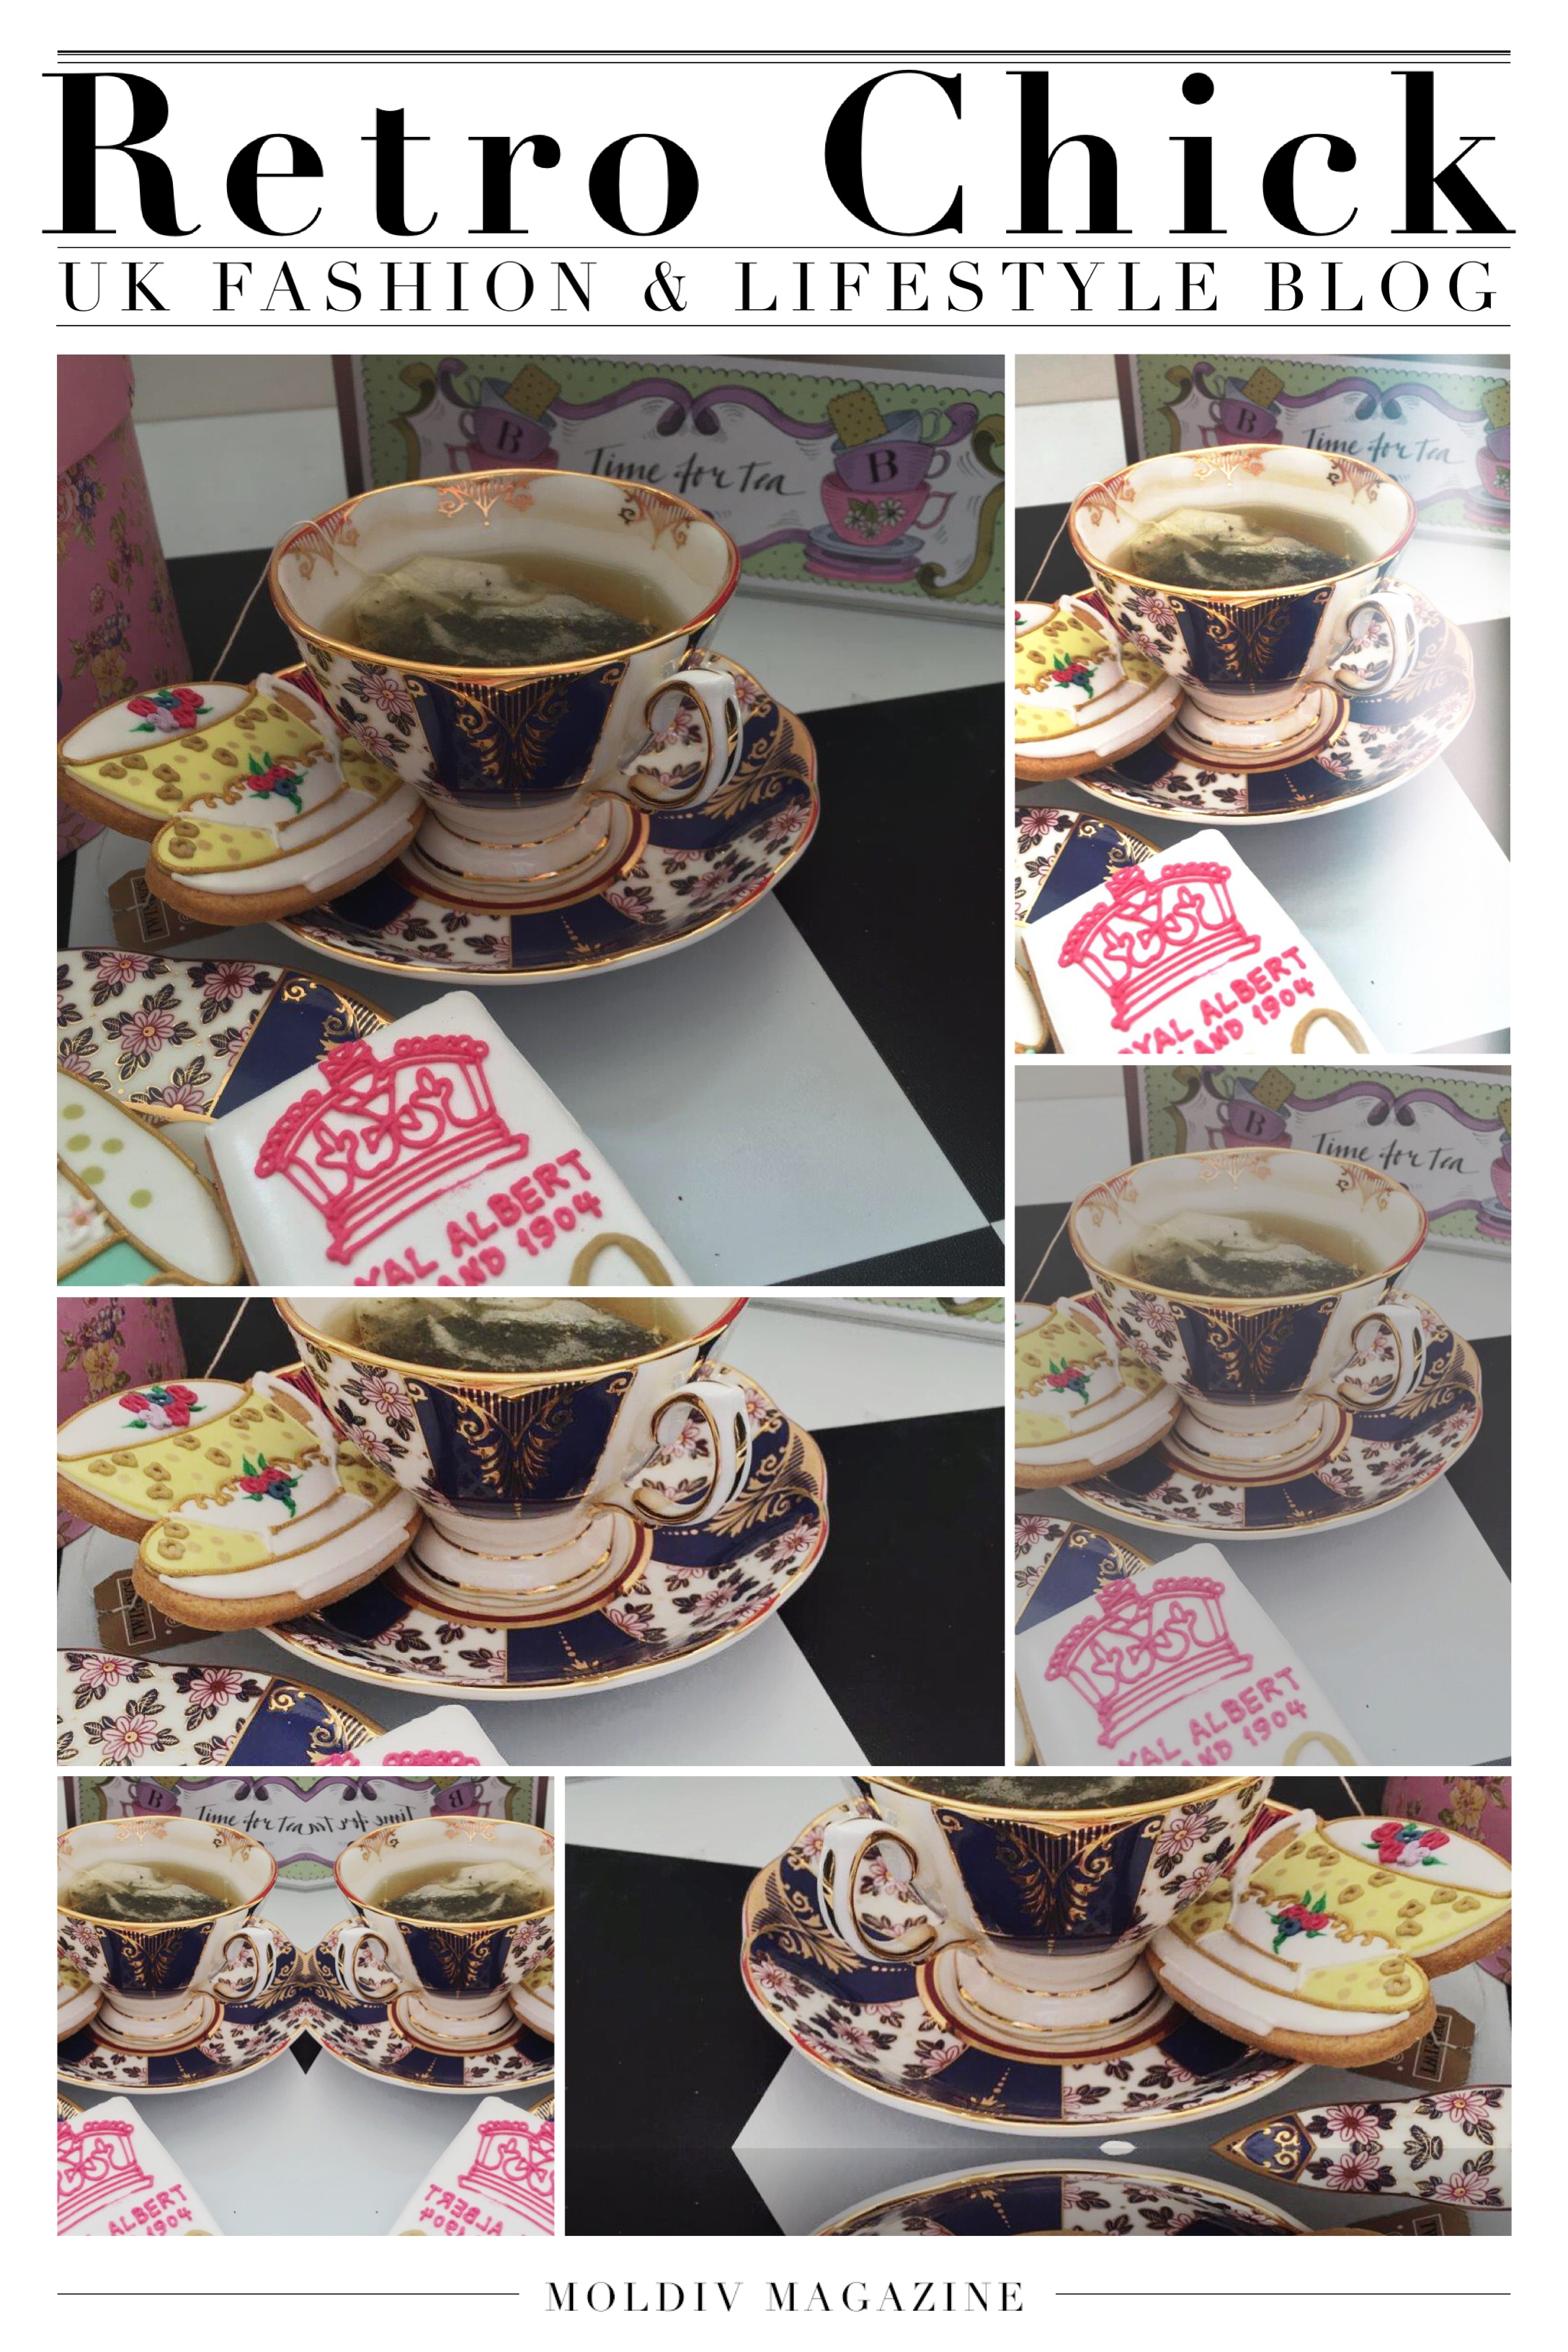
Moldiv
This free app offers a more controllable way of making collages and layouts than PhotoMirror as you can chose individually which picture goes in which square and change it once it’s set up if you decide they would be better switched around. You can also add coloured and patterned backgrounds to your collages.
You can also make magazine covers, I have never used this until now, it seems cool, but I have no idea what I would use it for.
VSCO
Last, but not least, is a free app that lots of people swear by, but I rarely use. It is similar to Afterlight and provides editing functions to brighten, clarify, sharpen and straighten photos. It also has inbuilt filters that some people prefer to those on Instagram or Afterlight.
It doesn’t provide the lightleak or overlay functions of Afterlight, but if you don’t want to pay for an app it’s great for the basic brightening functions if nothing else. I find the controls a little clunky on VSCO, you can’t see the effect on the photo as you move the sliders, so it’s easy to over or under do brightening and then have to spend ages moving it up and down one notch to check what looks best, where as Afterlight comes with a live preview.
I always do a final bit of editing in Instagram, I like to use the Valencia filter to keep my feed a bit more consistent since I can’t be trusted to do that only ever taking photos of things that are the same colour, or on a white background thing. I will adjust the intensity of the filter depending on the photo and might also change the contrast, brightness etc depending on how the photo looks once filtered. Here is the finished photo with the filter at 50% and 100% and no filter at all.
That’s 5 helpful apps to help brighten up your Instagram feed and perfect those photos!
Are there any that you swear by?


4 Comments
Great post dear 😉
______________________
PERSONAL STYLE BLOG
http://evdaily.blogspot.com
Very helpful.
I have avoided Instagram up to now, as my head couldn’t handle ANOTHER social network. My websites take up so much of my time that I really have to work at it to share around Facebook, Twitter ( hate twitter) Pinterest, YouTube aghhh. Anyway i always liked the simplistic look of Instagram and your post has renewed my interest. Many thanks and love the blog by the way, you look stunning
Thanks for sharing this post, amazing pics. Have to try this.
I’m pretty impressed with my phone’s built in editing program and usually use it to adjust the white balance and brighten my photos.