Friday Frock Love: In Praise of the Prom Dress
February 20, 2015The Key To My Heart
February 25, 2015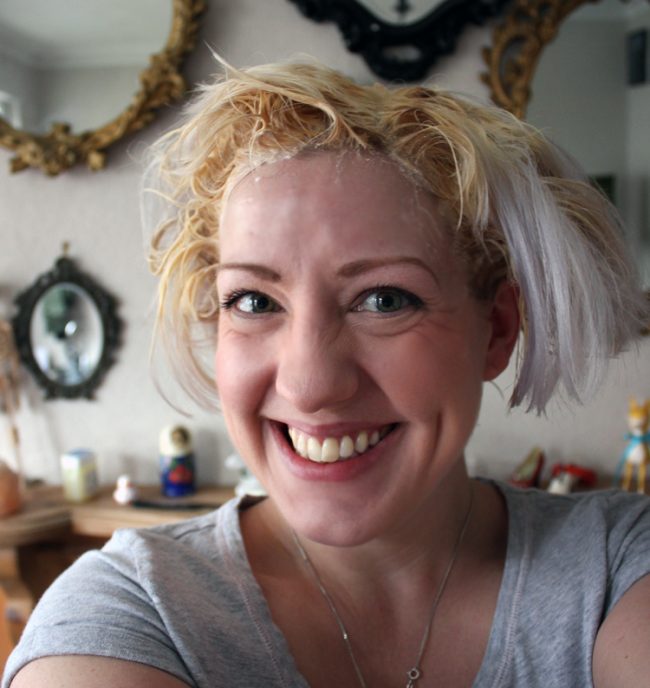
I’ve been dying my own hair at home for a very long time.
I don’t have the spare cash or the organisation to make regular salon visits so almost every colour I’ve ever had has been out of a box from Boots. That’s not to say there haven’t been the disasters. That time at university that I decided, after a bottle of wine, to put bleach on my already dyed red hair. That was a disaster. Blue black wasn’t my most flattering ever colour choice and was a pig to get rid of, and the time I dyed my hair ash blonde with a shaders and toners sachet when I was 13 and everyone at school told me I looked like an old lady wasn’t a personal highlight either.
Generally, though, it’s worked out ok. There was one thing it took me a while to get the hang of, and that was how to dye roots only. When my hair was red I used to attempt to start on my roots and end up just basically doing a whole head application. These days, using a heavy lightening colour or bleach I’ve had to figure out how to dye roots at home, unless I want my hair to start breaking off.
So today I thought I would share some pearls of wisdom on the way I dye my own roots at home. This is just the way I have found easiest and has the best results on my hair. As well as the technique I use to colour just my roots, I’ve also got a bit of information on how to get the silver blonde, as I get asked about it a lot!
If you’re going to try any of this yourself then this assumes you are already a home hair dyer, if you have your hair coloured using the advanced skills of a salon colourist then I can’t guarantee you’ll get any sort of a colour match from a boxed colour and you might be better off just hiding your hair roots till you can get to the salon!
How to Dye Roots at Home

A box of hair dye of your choice. (I use Shwarzkopff Live Color XXL in 00B Max Blonde)
Some vaseline.
A tail comb
A tinting brush and dish. Not made of metal.
First things first. You want dry, nicely combed hair, and to wear old clothes you don’t mind throwing bleach/dye on. Then smear your ears, neck and forehead, all around your hairline, with vaseline. This is particularly important with coloured dyes, as you don’t want a bright pink forehead (trust me, I’ve been there) but you don’t really want too much bleach on your skin either.
Next, put on the gloves like a well behaved person who reads instructions, and then mix the solutions together as per the instructions, BUT, do it in the plastic bowl, not the bottle provided. I pour the bottle contents into the bowl, then add the lightening powder and cream and mix it all up with the brush till it’s a smooth paste.

Now comes the tricky part. You will need to split your hair into sections, as mine is short I don’t clip them out of the way, I just wing it, but if your hair is longer then you may want to use clips.
The sections, whether clipped or just imaginary, should run from your parting, down to your ears, and back down the centre of your head.
Start with the front section from your parting, get some dye on your brush and then paint your roots. Paint both sides that are visible at the parting. You can see in this photo of my parting where I stop at the back of my head just behind my ears.

Next use the end of your tail comb to lift up narrow a section of hair and flip it over. You should still be able to just see dye on the underside of the section. If your hair is very long you might want to comb the undyed bottom section through to keep it un-knotted.
Then paint both the underside of the hair you flipped, and your newly revealed layer of roots! Repeat all the way down one side of your head. till you look like this. Well maybe not quite like this, you can keep both eyes open if you want. I don’t know why I pulled that face. There’s better ones coming.

Once you’ve done one side section, use the end of your tail comb to flip back to your original parting, and then repeat the process with the other side.
Paint the root section, up and down. Then slide your tail comb under a section of hair and flip it up and out of the way. You can comb the bottom undyed section down to get a neater parting and stop tangling. Then paint and repeat, all the way to your ear.
Then flip back to your parting. Again, at this point if you have longer hair you will almost certainly want to clip the dye free ends to keep your sections separate. I don’t as my hair is short.
Mmm, good look.

Now comes the REALLY tricky part. The back of your head.
Ideally you want to repeat your paint and lift technique on each side at the back of your head. You will find this tricky without help, particularly if you have long hair. I prefer to try and do mine alone, so these are my top tips for not having huge dark chunks of hair at the back of your head!
I start with my paint and lift technique as far as I can reach in one section. Then I flip it back down and “paint” all around my hair line behind my ears and, by feel, along the parting down the centre at the back of my head. Then I repeat on the other side. Finally I get my gloved fingers into my hair and gently massage the back of my scalp, taking care not to tangle the hair too much, this helps spread the dye to any bits you may have missed.
Then, wait for half of the developing time. Stop, relax, have a cup of tea, but nothing stronger as there’s still work to do!

After that time you can use a friend, a cunning arrangement of mirrors, or take photos of the back of your head to spot any patches you might have missed. This is far easier with bleach as you will see large dark areas instead of the fetching yellow every where else has gone!
Add dye to any obviously missed areas, and wait for the rest of the developing time, before rinsing it off as per the instructions on the packet.
Voila!
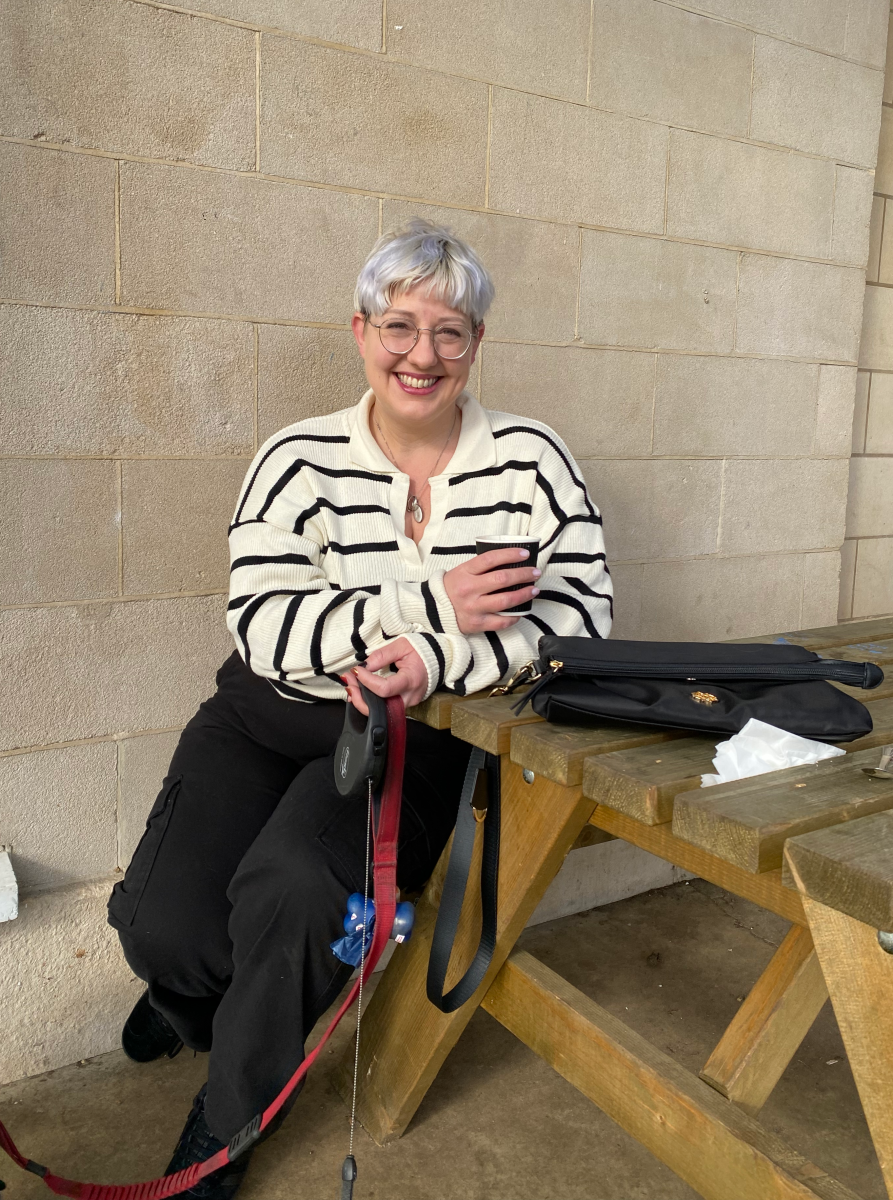
Blonde roots!

You will notice at this point that my roots don’t match my tips still. That’s because going white blonde is not just a matter of a box of bleach. Oh no. Now it is toner time. Of course, if your hair is a nice simple red or black or brown, then you can stop now and open the wine. But if you want silver blonde, read on.
For a long time I have been using the Smart Beauty Silver Moon dye as a toner. This time round I used a Jerome Russell silver as it was cheaper, but I wasn’t as impressed with the silver finish, so I will probably go back to the Smart Beauty next time.
In the past I have just slathered the stuff on, but as the ends of my hair are drier than the roots it takes better, and the colour isn’t so even, and that means it’s time to go back to the bowl and brush, and repeat that paint and flip motion all over again.

Then whack a shower cap stolen from a hotel room purchased in a 3 pack from Boots on your head and wait. You can apply a little heat from a hair dryer if you like to help with the developing, or wrap your head in a towel and sit by the fire.

Remember that vaseline around the hair line. No one wants a purple forehead!
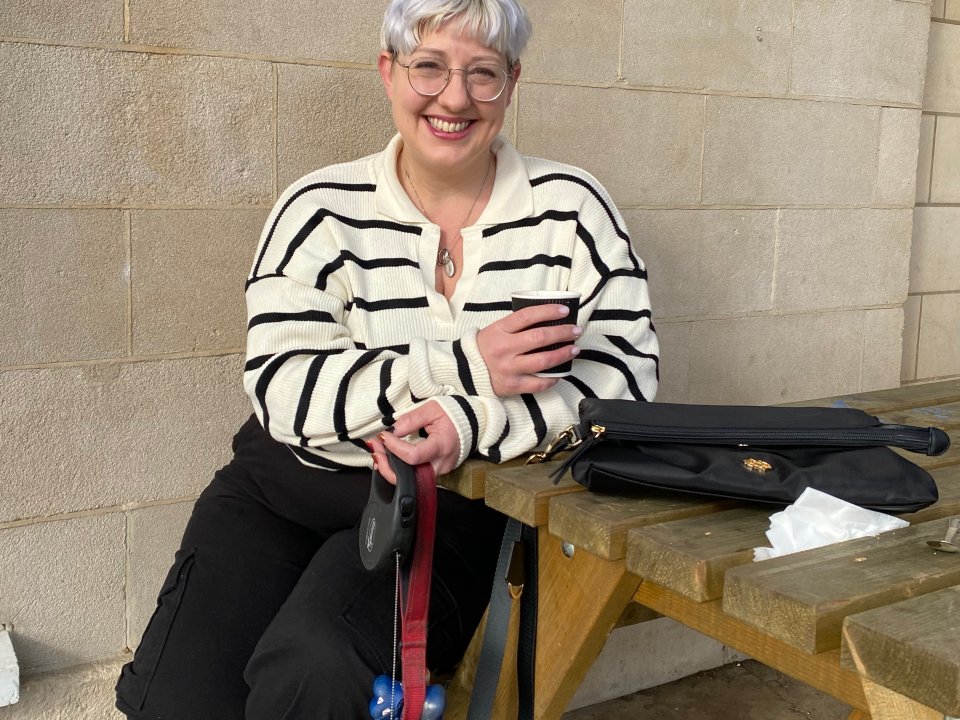
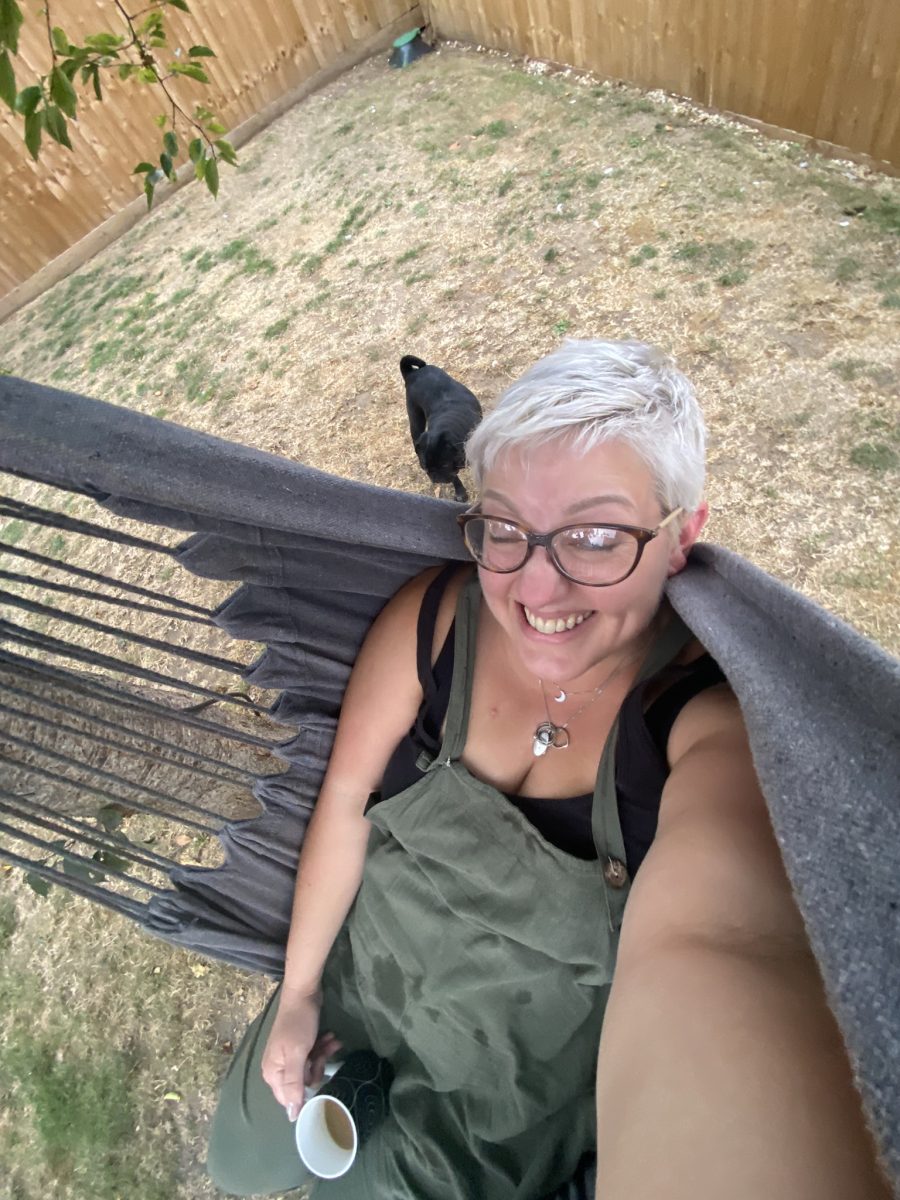
After the developing time I rinse, deep condition, and dry as normal, for lovely silver hair!
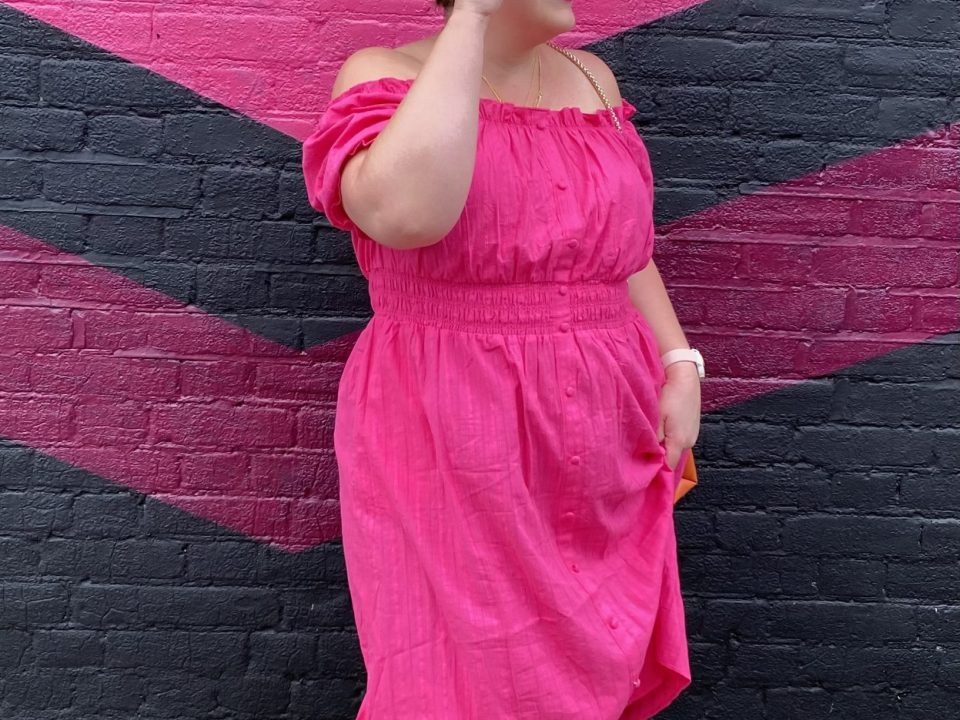
This last one was taken on my phone as I headed out to Roller Derby, hence the tiny mini me reflected in the background!

And that’s my best advice on how to dye roots at home!
If you want some more suggestions on how to get that silver/white blonde, then my favourite blonde hair products are here.
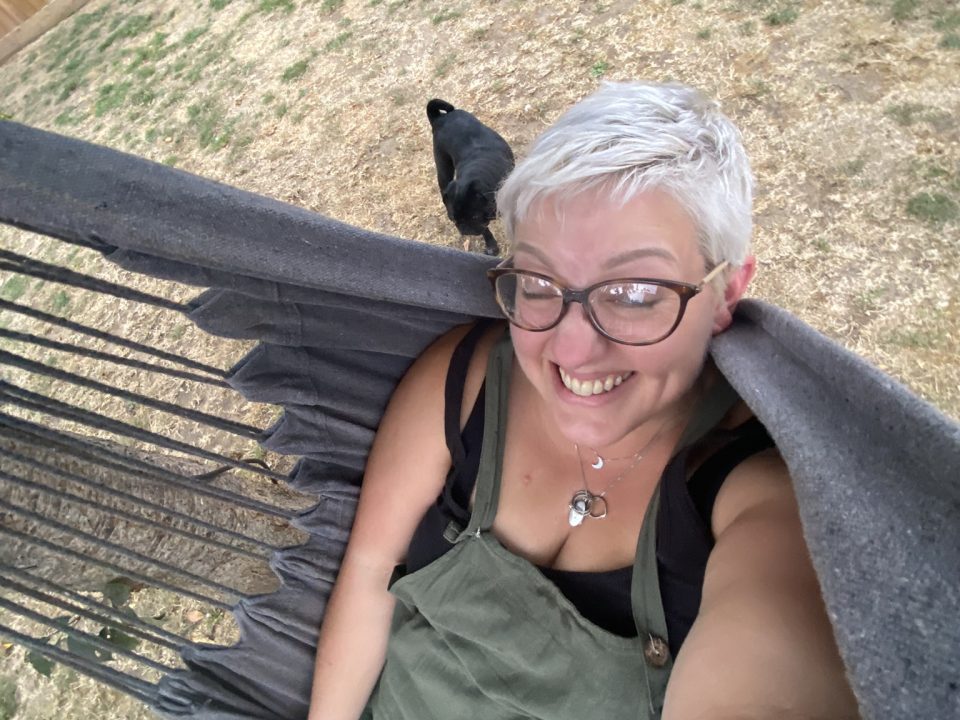
Staying this blonde is quite high maintenance. The colour takes maybe 2 hours to do every 6 weeks or so, depending on how long I can stand the sight of my roots. Then I need to deep condition it weekly to keep it in a decent condition, and use fancy shampoos and toners! It’s not for the faint hearted, but for now I’m enjoying the blonde!

17 Comments
How to Dye Your Own Roots at Home: I’ve been dying my own hair at home for a very long time. I don’t have the … http://t.co/Hrbtzgp3Ss
How to Dye Your Own Roots at Home: I’ve been dying my own hair at home for a very long time. I don’t have the … http://t.co/k1kf4ZWmqL
Great post. I am planning on doing my own roots this time round to. Then will have some fun with some pink and purple dye. I wil get my mum to help as i have rather long hair.
I think it’s much harder the longer your hair is! I’d suggest lots of big clips to keep bits together!
Danielle Robinson liked this on Facebook.
Pauline Rogers liked this on Facebook.
Melanie Donohoe liked this on Facebook.
Catherine Beck liked this on Facebook.
Linda Sargeant liked this on Facebook.
Jodie Monroe-Evans liked this on Facebook.
RT @Retrochick_uk: How to colour your own roots at home : http://t.co/0ZWQZoutOx
I’m doing my fringe again at some point. Bought some nice candy floss pink today too!
Sammie Pearce Rowe liked this on Facebook.
Sarah Jayne Phillips liked this on Facebook.
Kate Jarvis liked this on Facebook.
Miranda Cardew liked this on Facebook.
Cat Bo liked this on Facebook.